Saturday 28 February 2015

Outboard Electrical Connector

Another quick job, which took all day, ticked off.
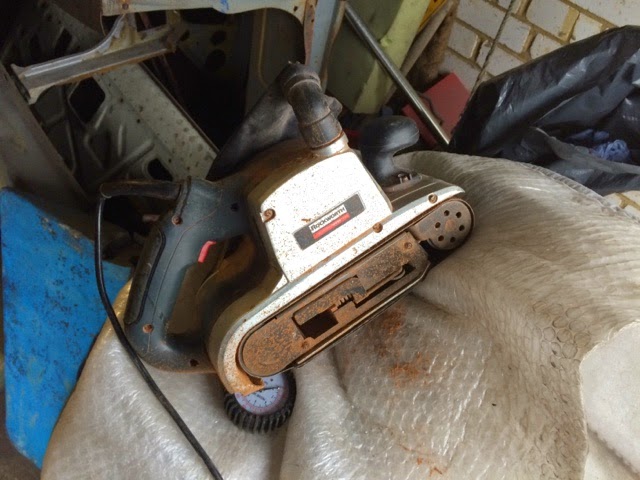
I thought fitting the Bulgin connectors would only take a few minutes... Wrong. It started so well,  when I removed the old socket from the deck the cable was still live, result, I thought this would mean I'd just have to fit the socket and plug and be done with it. 
Checking the clearance for the new connectors

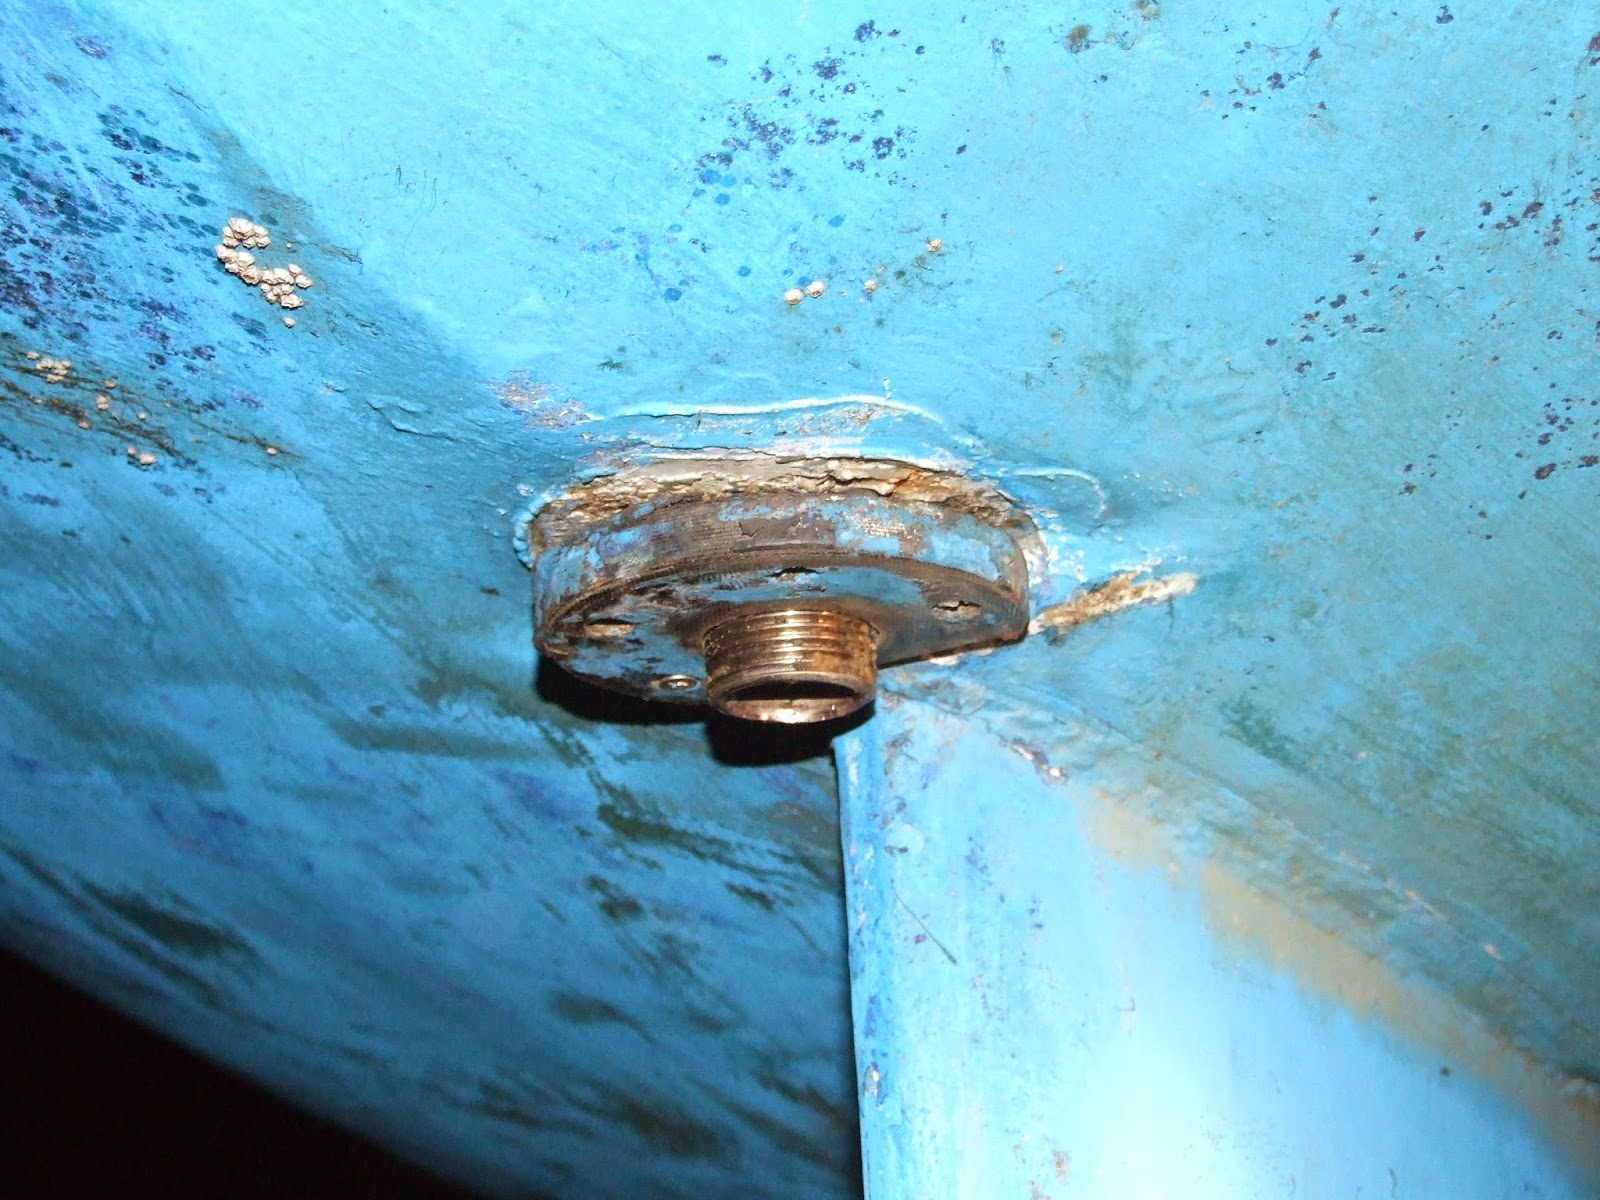
The old socket was surface mounted but the new one has a tail which goes through the GRP. I needed to bore a hole for this tail so used a hole saw and made a lovely hole... Bugger, I'd put the wrong size bit in, which if you use a drill is no problem but for a hole saw  is a pain.

Using a socket over the auger to centralise the hole saw.

I did come up with a neat way of restarting a larger saw.  I found a deep socket, see pic above,  which was close to the size of the first hole. It needs to be a deep reach socket to ensure that the drill bit doesn't stick through, as you need to hold that end while it's drilling :)   It worked a treat and I was back on track.
Back at the engine end I needed to do a little repair to the internal wiring before fitting the plug, which went on easily.


Having had a proper look at the cable it was obvious that it would need replacing, the copper on the neutral line was turning black and even when I trimmed it back it was no better.  Time to rip it out back to the electrical panel.  The new length was soon in place but actually making the connections and getting it all back together took a long time.  And when it was it didn't work.  Turned out it was just a fuse that I'd blown with my clumsiness.  Glad to have got it done as it was getting dark, cold, windy and wet.

Socket finally  fitted a wired up, electrical board back in place and kettle on :).


Outboard well


A very quick mod was required to the edging on the outboard well.  The top piece had an over hang which needed trimming back.  You can see where I have previously hacked it to allow the outboard to sit on it.  

Obviously I would need a suitable tool... Roger to the rescue with his 'Big Bertha' belt sander. 
It's taken longer to write this than to do the job :). Right what's next?

Friday 20 February 2015

More Rudderisation :)

I'm not going to be able to get any more work done on the boat this weekend, however some more bits arrived in the post today. This lump of Aluminium cost £11.35 including postage and Only took three days to arrive.  Not bad. 
This will become the tiller bracket, if that's the right word.  I'll bore a 25mm hole through it, then cut a slot through to the hole and made a pinch bolt arrangement to clamp it onto the rudder stock. 
Other items which I now have all the bits for are the outboard charge feed connector. 
It's a lovely IP67 rated Bulgin connector complete with dust caps. 
Just need to find time to start fettling 

Sunday 15 February 2015

More rudder stuff

I did a little more today,  I had read that you need to split the rudder longitudinally to free the old stock and tangs.   I used a thin cutting disc on the angle grinder and wizzed around the edges.. No hope of splitting this blade that way.   I then Sliced along the sides and took the front edge of the the blade off.  the old stock then easily come out, leaving it's tangs firmly embedded in the wooden core.

Old stock removed
The wooden core is a bit damp, doesn't seem to be rotten but needs to dry out.  The new stock is a few mm less diameter than the old one so can sit on a bed of grpand then be laminated up.
Old tangs embedded in wooden core.
The new tangs will be welded onto the stock and holes will be drilled into the core for them to go into.  I will probably fill these with Gripfil or similar to secure the tangs within the blade.
Using a jubilee clip to gauge squareness of cut.
One of the things I always struggle with is cutting tube nice and straight.  I come up with this idea to give me a visual aid while cutting.  A Jubilee clip a few mm from the cut line helps to keep things square.
New stock temporarily fitted.
I cut the new stock roughly to length and dropped it into position.  All looks good, The old lower bracket in the picture will eventually have a cup welded onto it, an off cut from the tube,  to make a lower bearing.
Roughly how it will look when done (Sans jubilee clip).

Rudder tube repairs

It's only two months since my last post and... only two and a half months to launch!  Guess I'd better pull my finger out.   A major issue which needs sorting is the rudder.  Its been a problem every year .  First  the pintle snapped off so I had a bucket made to fit on the rudder with a new pintle on it.  Then the bracket failed so I beefed that up, lastly the pintle snapped off the new fitting as well as shearing off the screws which held on the lower bearing. so this year I decided to start again.   

The stock, tube and flange.
I've managed to scrounge together most of the bits I need. Richard supplied the 25mm Stainless bar which will be the rudder stock, a good friend supplied another bit of stainless tube which had a natty flange on it and a customer gave me a length of stainless tube with a one inch internal diameter and he also kindly put a BSPT thread on one end.


Tube fits nicely inside current rudder tube.
The tube is currently over length but that's fine. It fits nicely inside the current rudder tube and the stock fits nicely inside the tube.   I intend to cut the tube so that it is just long enough to go through the hull, leaving a thread poking out of the bottom.  The flange will be welded to the top and will be screwed to the deck,and I can then put a nut on the bottom and sandwich it all together.
The flange will secure the top of the tube to the deck.
I will have to slice the rudder blade in two to remove it from the current stock.  I will then need to find someone to weld some tangs onto the new stock and then I'll epoxy it back together on the new stock.
Just need a nut to sandwich it all together.
The stock will protrude out of the bottom of the blade and I will use an offcut from the tube to make the bottom bearing.  The bracket for the tiller will also have to be remade but I'll cross that bridge when I come to it.